Clean a disc by wiping it in straight lines from the center hole to the outer edge, using a clean microfiber cloth and only gentle cleaners. Most playback problems caused by fingerprints, dust, or light grime can be fixed without harsh chemicals, scrubbing, or circular rubbing. If the disc has deep scratches, cracks, label damage, or peeling layers, cleaning will not repair it and may make it worse.
TLDR: Use a dry microfiber cloth first, then distilled water or a tiny amount of mild dish soap if the disc is still dirty. Wipe from the center outward, never around the disc, because circular scratches can interrupt the data track for longer stretches. For example, a DVD with three visible fingerprints may skip every 20 seconds, yet play normally after a 60-second clean. Avoid paper towels, window cleaner, acetone, rough cloths, and heavy pressure.
Know What You Are Cleaning
This guide applies to optical discs, such as CDs, DVDs, Blu-ray discs, game discs, software discs, and burned data discs. These discs store data in a spiral track under a clear plastic surface. Dirt and fingerprints scatter the laser beam, which can cause skipping, freezing, slow loading, or read errors.
Do not confuse this with cleaning a hard disk drive. A hard drive should never be opened for cleaning at home. Dust inside a hard drive can destroy the platters. If you mean a computer storage drive, use software cleanup tools, not cloth and liquid.
What You Need
Use the mildest method that works. Most discs do not need much.
- Clean microfiber cloth: Use the type made for eyeglasses or camera lenses.
- Distilled water: Better than tap water because it leaves fewer mineral spots.
- Mild dish soap: Use only a tiny amount for grease or sticky residue.
- 70% isopropyl alcohol: Optional, for stubborn oily marks. Use sparingly.
- Compressed air bulb: Helpful for loose dust. Avoid blasting the disc too close.
Skip paper towels, tissues, napkins, old T-shirts, abrasive pads, and bathroom towels. They feel soft, but they can leave fine scratches. It drives me crazy that one quick wipe with a paper towel can turn a small fingerprint problem into permanent surface damage.
Step 1: Inspect the Disc First
Hold the disc by the outer edge and center hole. Tilt it under a soft light. Look for dust, fingerprints, sticky marks, scratches, cracks, and damage near the inner ring. The inner ring matters because many discs store startup information close to that area.
If the disc is cracked, warped, flaking, or separating into layers, do not put it into a player or drive. A cracked disc can shatter at high speed. That can damage the drive and create a safety risk.
Step 2: Remove Loose Dust
Before wiping, remove loose grit. This matters. Dragging grit across plastic can scratch it.
- Hold the disc label side up or data side up without touching the shiny surface.
- Use a hand air blower or very gentle compressed air.
- Blow from the center toward the edge.
- Do not use your breath if you can avoid it. Breath adds moisture and tiny droplets.
If dust remains, continue with a dry microfiber wipe. Do not press hard. Let the cloth do the work.
Step 3: Wipe in the Correct Direction
The right wiping direction is simple: center to edge. Place the cloth near the center hole and pull straight outward. Lift the cloth. Repeat on a new section.
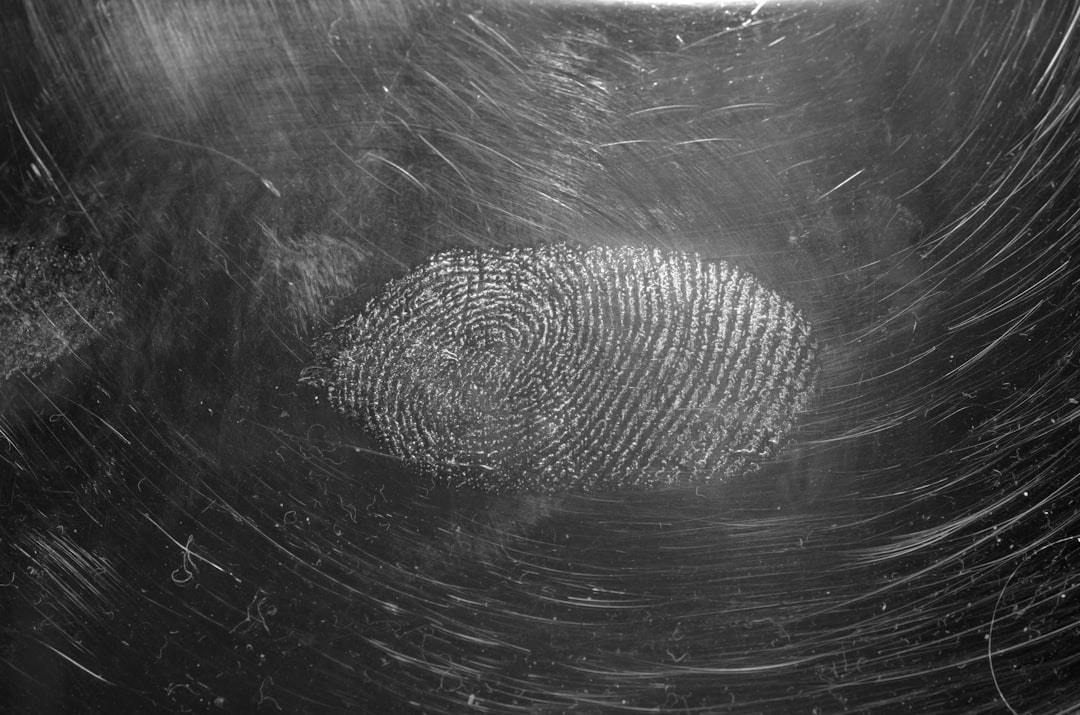
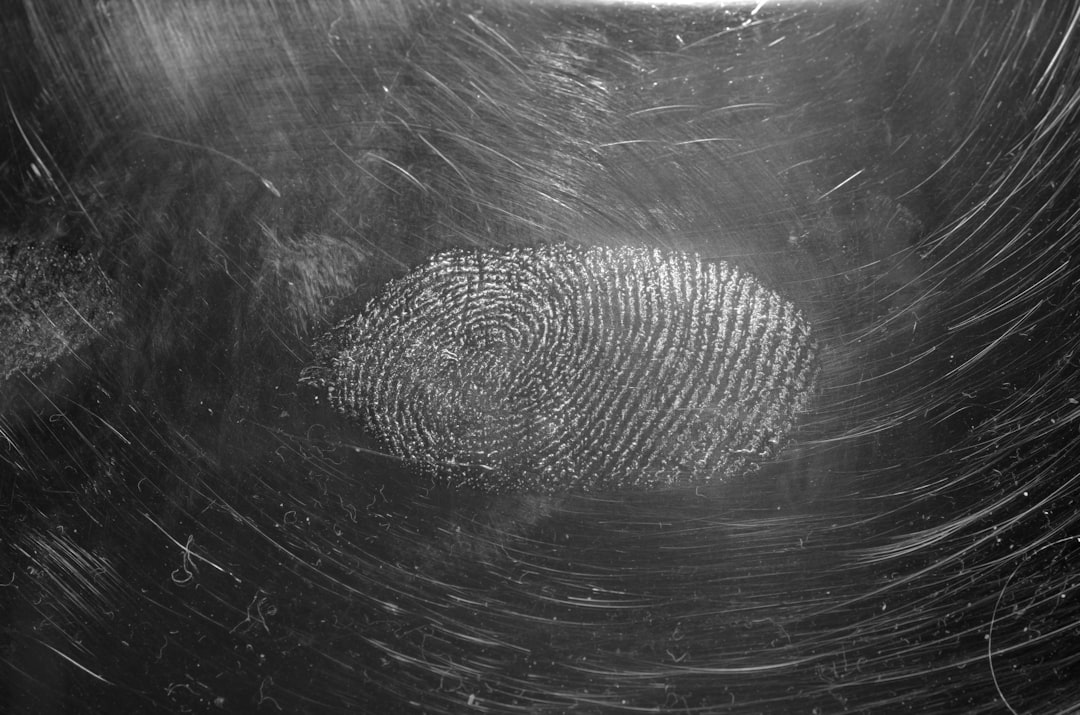
Do not wipe in circles around the disc. The data track itself runs in a spiral. A circular scratch can follow that path and block many pieces of data in a row. A straight scratch from center to edge usually crosses the track briefly, which is easier for error correction to handle.
Image not found in postmetaStep 4: Use Water for Fingerprints
Fingerprints contain oils, salts, and skin residue. A dry cloth may smear them instead of removing them. If the disc still looks cloudy or greasy, add moisture.
- Dampen part of a microfiber cloth with distilled water.
- Wipe straight from the center to the outer edge.
- Use a dry part of the cloth to remove remaining moisture.
- Let the disc air-dry for a few minutes before playing it.
The cloth should be damp, not dripping. Liquid should not pool near the center hole or outer rim. Some discs have vulnerable edges where liquid can seep into the layers.
Step 5: Add Mild Soap for Grease or Sticky Marks
For food smudges, soda residue, or heavy fingerprints, use mild dish soap. Do not apply soap directly to the disc. Mix one drop of soap into a small bowl of distilled water.
Dampen the cloth with the mixture and wipe from center to edge. Then wipe again with plain distilled water to remove soap film. Dry with a fresh microfiber cloth. Soap residue can leave streaks that cause the same read problems you were trying to fix.
Honestly, it feels absurd when a disc refuses to load because of one syrupy fingerprint, but that is often all it takes. The laser needs a clear path. Even a thin smear can scatter enough light to cause errors.
When to Use Isopropyl Alcohol
70% isopropyl alcohol can help with stubborn oil, marker transfer, or residue that water will not remove. Use it with care. Dampen the cloth lightly, wipe straight outward, then let the disc dry fully.
Do not soak the disc. Do not use acetone, nail polish remover, paint thinner, gasoline, bleach, vinegar, ammonia cleaners, or window cleaner. These can cloud plastic, weaken coatings, or attack printed label layers.
Special Care for Blu-ray, DVDs, CDs, and Game Discs
- Blu-ray discs: Many have a hard coating, but they are not invincible. Clean them the same gentle way.
- DVDs: DVDs are bonded from layers. Avoid soaking the edge, especially on older discs.
- CDs: The label side is often more fragile than people think. Damage to the top can destroy data.
- Game discs: Fingerprints are common. Clean before blaming the console drive.
- Recordable discs: Burned CDs and DVDs can be more sensitive to heat, sunlight, and label damage.
Never scrape residue with a fingernail. Never stack bare discs. Never place a disc shiny side down on a desk. Small habits cause most disc damage.
What About Scratches?
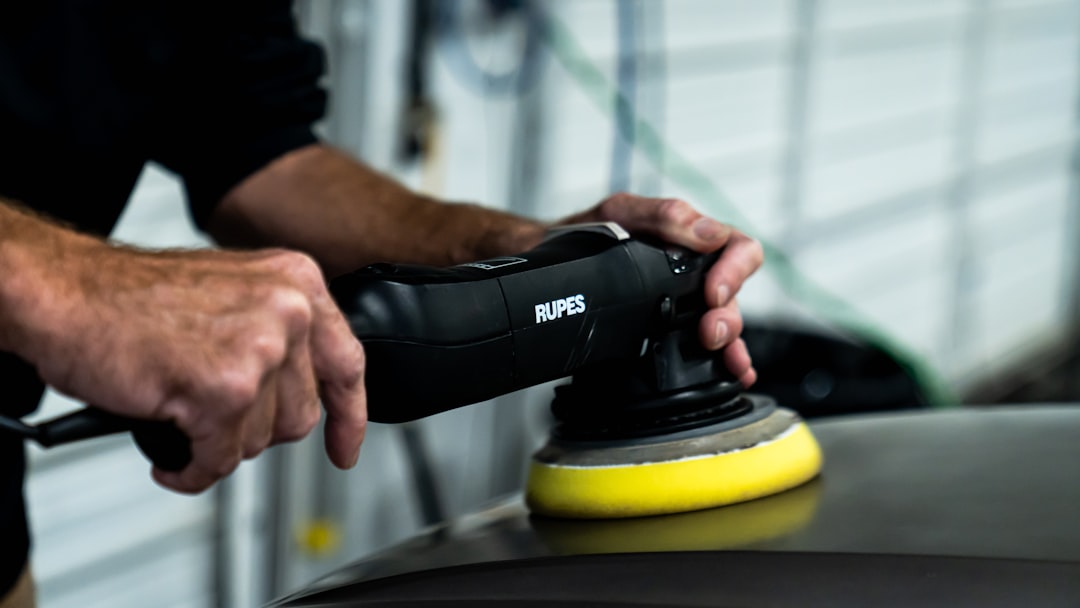
Cleaning removes dirt. It does not truly remove scratches. Very light surface marks may seem to improve after cleaning because dirt inside them is gone. Deep gouges need resurfacing equipment, and even that is not guaranteed.
Commercial disc repair machines polish a thin layer of plastic from the read side. This can work for DVDs, CDs, and some game discs. It is less ideal for rare discs, valuable discs, and discs with label-side damage. If the data layer is damaged, polishing the bottom will not help.
How to Dry a Disc Safely
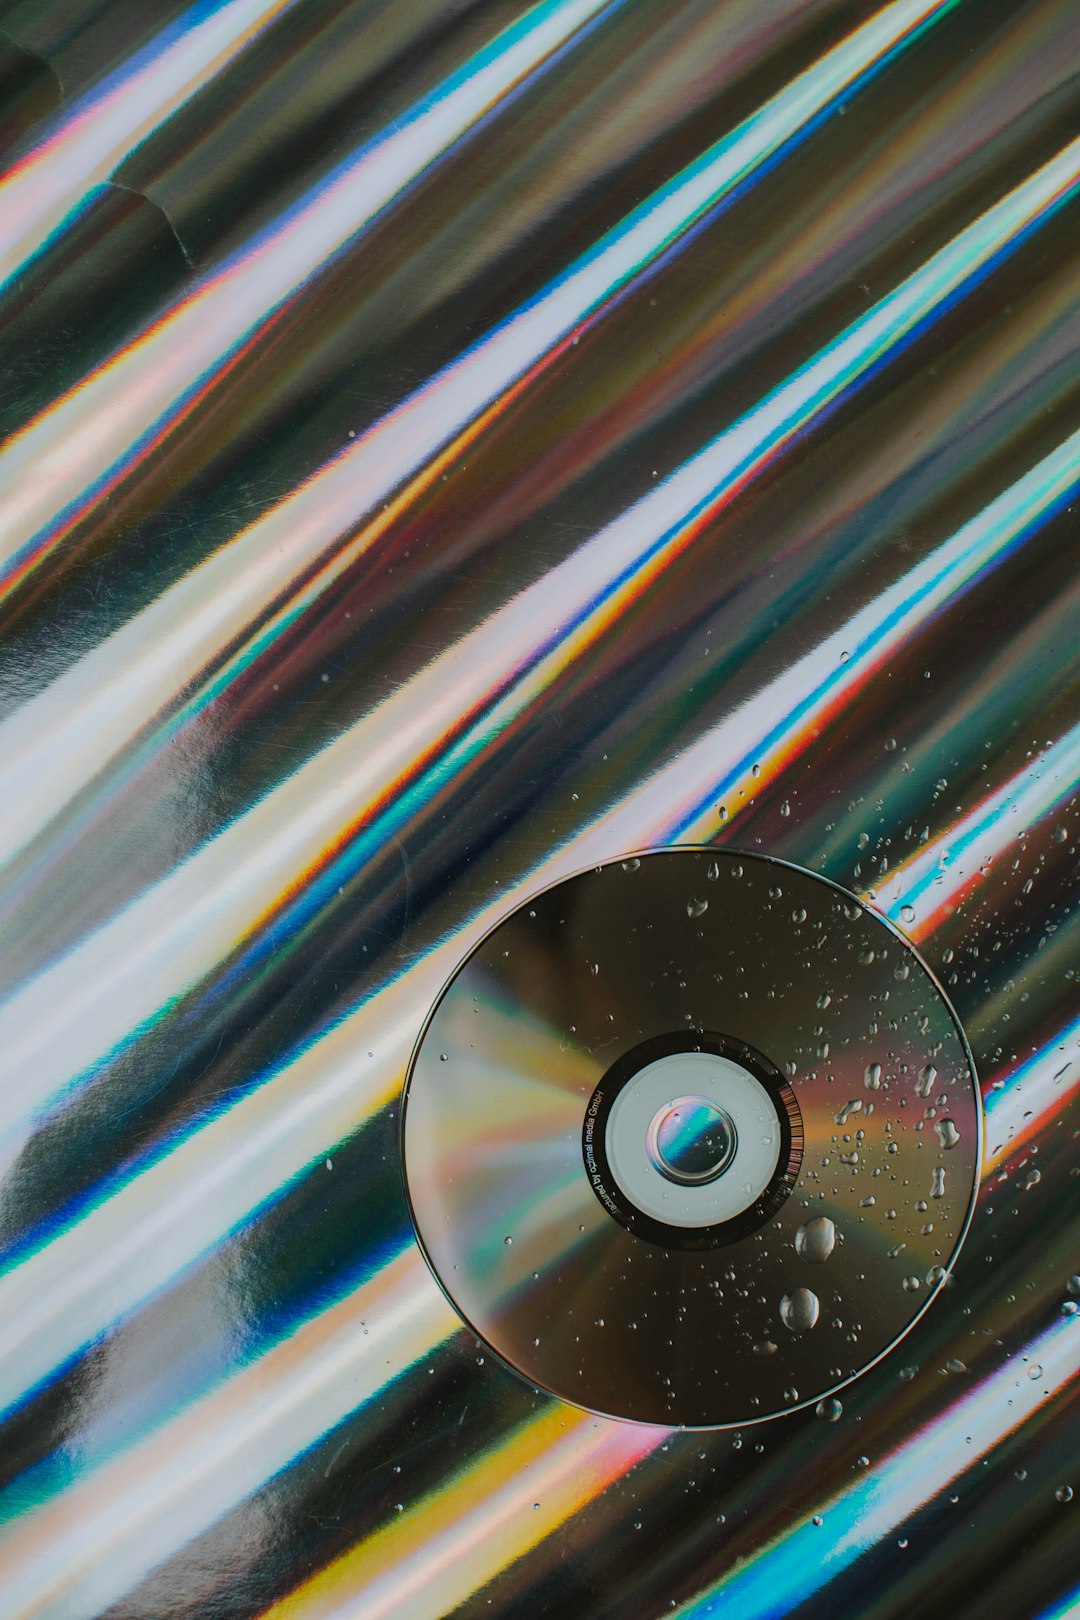
Drying matters as much as washing. Use a dry microfiber cloth and the same center-to-edge motion. Then leave the disc upright or flat on a clean surface for a few minutes. Make sure it is fully dry before putting it into a slot-loading drive. Moisture inside a drive can collect dust and create new problems.
Do not use a hair dryer. Heat can warp plastic. High air pressure can also push debris across the surface.
How Often Should You Clean Discs?
Clean only when needed. Repeated wiping creates risk, even with a good cloth. If a disc plays fine, store it properly and leave it alone. For shared discs in classrooms, offices, libraries, or game rooms, a quick inspection before use saves time. In busy settings, cleaning the worst 10% of discs often prevents most playback complaints.
Safe Storage Prevents More Damage Than Cleaning
Store each disc in a proper case. Keep it away from heat, direct sun, moisture, and dust. Handle it by the edges. Return it to the case right after use. Avoid adhesive labels on burned discs because they can unbalance the disc or peel over time.
A clean disc should look clear, dry, and streak-free under light. If it still skips after careful cleaning, test it in another player. If the problem follows the disc, the damage may be physical. If other discs also fail, the player or drive may need attention.
The safest method is boring: microfiber cloth, light moisture, center-to-edge strokes, and patience. That boring method is also the one least likely to ruin a disc you cared enough to clean.