A disc repair machine can save a scratched CD, DVD, or game disc if the damage is on the clear plastic side and not too deep. It works by shaving, smoothing, and polishing the surface so the laser can read the data again. Think of it as a tiny spa day for your angry, skipping disc.
TLDR: A disc repair machine fixes many light and medium scratches by resurfacing the clear plastic layer. It cannot fix cracks, label-side damage, deep gouges, or data rot. For example, if a family has 20 scratched DVDs and a machine revives 14 of them, that is a 70% recovery rate and fewer sad movie nights. Buy one only if you repair discs often, or use a pro service for rare fixes.
What Is a Disc Repair Machine?
A disc repair machine is a tool that removes scratches from optical discs. It is used on CDs, DVDs, video game discs, and sometimes Blu-ray discs. The goal is simple. Make the disc surface smooth again.
When a disc skips, freezes, or refuses to load, the laser may be hitting a scratch. That scratch bends or scatters the light. The player gets confused. Then your movie freezes right as the monster appears. Rude.
A repair machine removes a very thin layer of plastic. Then it polishes the disc. This gives the laser a cleaner path.
How Disc Repair Machines Work
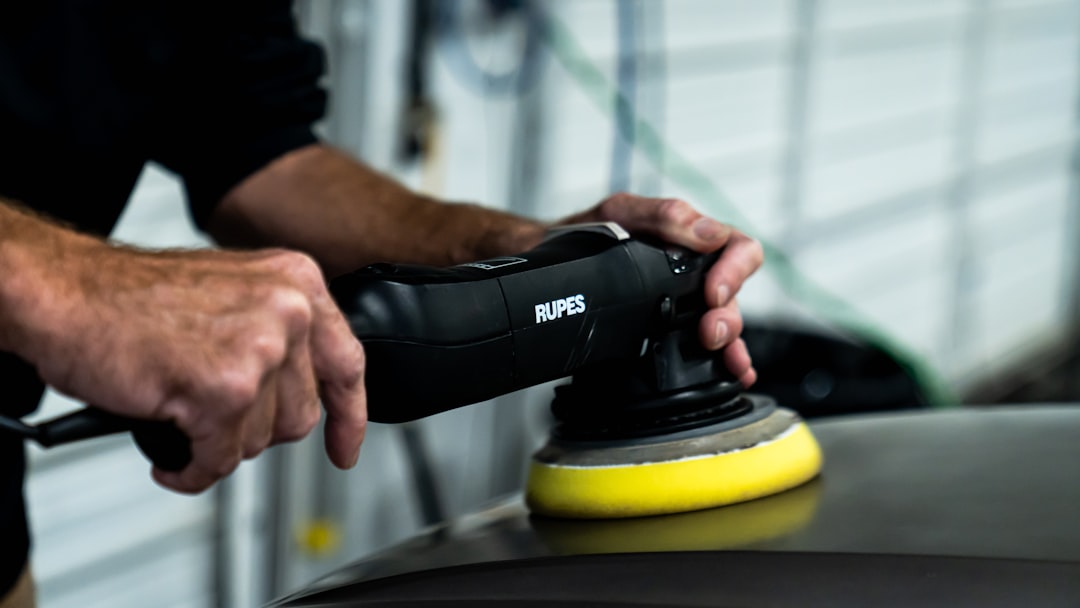
Most disc repair machines use a few basic steps. The exact process depends on the model, but the idea stays the same.
- Step 1: Clean the disc. Dust and dirt come off first. Tiny grit can make scratches worse.
- Step 2: Resurface the plastic. A sanding pad or repair wheel removes a thin layer from the readable side.
- Step 3: Polish the disc. A softer pad adds shine back to the surface.
- Step 4: Buff and wipe. The disc is dried and checked for streaks.
- Step 5: Test it. The real proof is playback.
Some machines use water. Some use a repair fluid. Some use dry pads. Better machines control speed and pressure. Cheap ones may rely on your hand pressure, which is less fun than it sounds.
Honestly, it feels silly when a budget repair kit asks you to crank a handle for 90 seconds and then gives you a disc that still looks like it fought a raccoon. But for light damage, even simple machines can help.
Why Scratches Cause So Much Trouble
The data in most discs is not sitting on the bottom surface. It is inside the disc. The clear plastic layer protects it. The laser reads through that plastic.
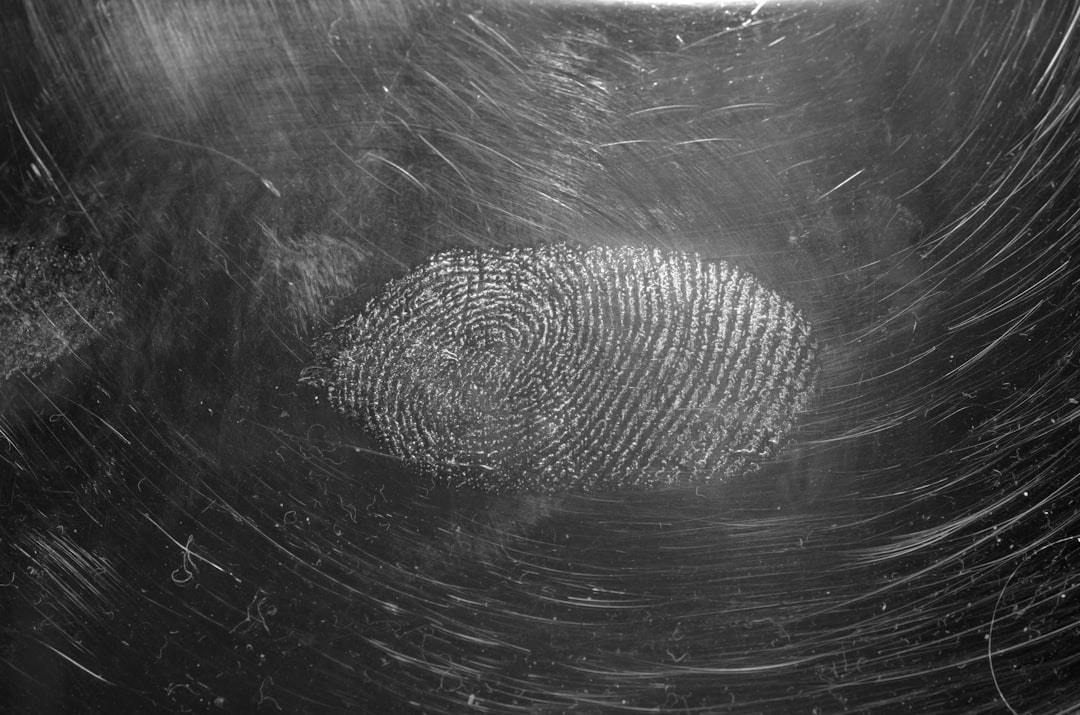
If the plastic is scratched, the laser may miss the data. A straight scratch from the center to the edge is usually less bad. A circular scratch can be worse. It follows the same reading path as the laser. That can cause repeated errors.
This is why a disc may play fine for ten minutes, then freeze at the same spot every time. The player is hitting the same damaged area.
Which Damage Can a Disc Repair Machine Fix?
A repair machine can fix more than you might expect. But it is not magic. It cannot raise the dead. It can only smooth plastic.
Good candidates for repair include:
- Light scratches on the shiny readable side.
- Medium scuffs from cases, sleeves, or dusty shelves.
- Cloudy marks caused by rubbing or old cleaning attempts.
- Minor circular scratches if they are not too deep.
- Discs that skip, freeze, or load slowly but are not cracked.
These discs often respond well. A good machine may bring back many of them. Not all. But enough to make the repair feel worth it.
Which Damage Cannot Be Fixed?
This part matters. A disc repair machine can also waste your time if the disc is too far gone.
Do not expect repair to work on:
- Cracked discs. Do not spin them. They can break inside the machine or player.
- Warped discs. A bent disc may never spin correctly again.
- Deep gouges. If your fingernail catches hard, repair may fail.
- Label-side scratches on CDs. This can damage the data layer itself.
- Disc rot. This looks like bronzing, pinholes, or strange patches inside the disc.
- Peeling layers. Once layers separate, polishing the bottom will not help.
CDs can be extra cruel. On many CDs, the data layer sits close to the label side. A scratch on the top can be fatal. DVDs usually sandwich the data deeper inside. Blu-ray discs use a hard coating, but they also have tighter data spacing. Use a machine rated for Blu-ray if you care about that disc.
Types of Disc Repair Machines
There are three common types. Each one fits a different user.
1. Manual Repair Kits
These are cheap. They use a hand crank or basic holder. You add fluid, turn the handle, and hope. They are fine for a few old DVDs. They are not fun for a big pile.
Best for: casual home use.
2. Small Electric Machines
These are common for homes, schools, and small shops. They spin the pad for you. Some use different pads for sanding and polishing. Results are more even.
Best for: families, collectors, small game sellers, and libraries.
3. Professional Resurfacing Machines
These are larger and more expensive. They are built for volume. They use measured pressure, timed cycles, and precision pads. Some can process dozens of discs per day.
Best for: rental stores, repair shops, game stores, and media archives.
What to Know Before Buying One
Before you buy, ask one blunt question. How many discs do you really need to fix?
If you have two scratched movies, do not buy a $300 machine. Use a local repair service. Many shops charge around $2 to $5 per disc. That is cheaper and less messy.
If you have 50 game discs, the math changes. A machine may pay for itself. Especially if some games cost $20, $40, or more to replace.
Check these things before buying:
- Disc support: CD, DVD, game discs, and Blu-ray if needed.
- Consumables: Pads, fluids, sanding sheets, and polish wear out.
- Cycle time: Some machines take 2 minutes. Others take 10.
- Noise: Small motors can sound like an irritated toothbrush.
- Mess: Wet machines can splash if used badly.
- Replacement parts: A cheap machine is less cheap if pads vanish from sale.
- Ease of use: Clear settings matter. Guesswork ruins discs.
Tips for Using a Disc Repair Machine
Start gently. Always. You can remove more plastic later. You cannot put it back.
- Clean the disc before repair.
- Use the correct pad for the disc type.
- Follow the time setting in the manual.
- Do not repair the same disc many times.
- Test with a low-value disc first.
- Wipe from the center outward, not in circles.
- Let the disc dry fully before playing.
Expect to waste time on one or two stubborn discs. Some look fine after repair but still fail. Others look rough and suddenly work. Optical discs enjoy being dramatic.
Is a Disc Repair Machine Worth It?
For casual users, maybe. For collectors, schools, libraries, and game sellers, yes, often. The value depends on volume.
If you repair one disc per year, skip the machine. If you repair several each month, consider one. If you run a shop, a pro unit can save stock that would otherwise be trashed.
A good rule is simple. Add up the replacement cost of your damaged discs. Then compare that number to the machine plus pads and fluid. If the machine costs less than replacing half your discs, it may be a smart buy.
Final Thoughts
A disc repair machine is not a miracle box. It is a careful plastic smoother. It can rescue scratched discs, save money, and reduce waste. It can also fail when damage reaches the data layer.
Use the right machine. Use light pressure. Keep the pads clean. And please, stop stacking bare discs on the coffee table. That is how the chaos starts.