Use a green screen by lighting it evenly, standing a few feet away, recording clean footage, then removing the green color with a chroma key tool in your editor. That is the whole trick. The magic is not the screen. It is the setup.
TLDR: Hang a smooth green background, light it evenly, keep your subject 4 to 6 feet away, and use chroma key in editing software to remove the green. For example, a teacher can record one 8-minute lesson at a desk and swap the background for a classroom, space scene, or slide deck. A basic setup can cut reshoots by about 30% because you can change the background later without filming again.
What Is a Green Screen?
A green screen is a bright green background used in video production. After recording, editing software removes that green color. Then you place a new background behind the person or object.
You have seen it in weather reports. You have seen it in superhero movies. You have also seen it in YouTube tutorials where someone appears in a fancy studio that is probably just a bedroom. No shame. We love a fake wall.
Green works well because human skin does not usually contain bright green tones. So the software can spot it and remove it. This process is called chroma keying.

What You Need
You do not need a Hollywood setup. Start simple. Then upgrade only when needed.
- Green background: Use fabric, paper, a painted wall, or a pop-up screen.
- Camera: A phone, webcam, mirrorless camera, or DSLR can work.
- Lights: Soft lights are best. Harsh shadows are the enemy.
- Tripod: Keep the camera still. Shaky footage makes editing harder.
- Editing software: Use any editor with a chroma key or green screen tool.
- Microphone: Good audio makes your video feel more professional.
If money is tight, spend first on lighting and audio. A great camera cannot save dark, messy footage. Bad sound also makes viewers leave fast.
Step 1: Set Up the Green Screen
Hang your green screen flat. Pull out wrinkles. Smooth the fabric. Tape the edges if needed. Clips help a lot.
Wrinkles create shadows. Shadows create different shades of green. Different shades make the software grumpy. Then you get weird fuzzy edges around hair and shoulders.
If you use fabric, steam it if you can. If not, stretch it tight. If you use a wall, make sure the paint is clean and matte. Shiny paint reflects light and causes bright spots.
Make the screen larger than your frame. Check your camera view. You should not see the floor, wall edges, curtain rod, chair, or your cat plotting chaos in the corner.
Step 2: Light the Green Screen
This is where beginners often struggle. Do not light only your face. Light the screen too.
The screen should look like one smooth shade of green. No dark corners. No hot spots. No shadow of your head floating behind you like a spooky balloon.
Use two lights for the background if possible. Place one on each side. Aim them at the screen. Keep them soft. Softboxes, LED panels, or lamps bounced off white walls can work.
Then light your subject separately. A simple setup is:
- Key light: Main light on your face, placed slightly to one side.
- Fill light: Softer light on the other side to reduce shadows.
- Back light: Light behind you to separate you from the background.
The back light is very helpful. It adds a slight rim around your head and shoulders. This makes the key cleaner.
Step 3: Stand in the Right Spot
Do not stand right against the green screen. That causes two problems.
- Your body casts shadows on the screen.
- Green light bounces onto your skin and clothes.
This green bounce is called spill. It makes your edges glow green. It can also make your hair look strange.
Stand about 4 to 6 feet away from the screen if you have space. More distance is even better. In a tiny room, do what you can. Even 2 feet is better than leaning on it.
Also, do not wear green. That includes green shirts, green ties, green earrings, and green logos. The software may erase them. Your torso could vanish. Funny once. Bad for client work.
Step 4: Record Clean Footage
Before you hit record, do a test clip. Just 10 seconds. Wave your hands. Turn your head. Move like you will move in the real video.
Then check the footage in your editor. Honestly, it feels like a waste to test first. But skipping it can cost 40 minutes later. Sometimes one lamp moved six inches fixes the whole shot.
Use these recording tips:
- Lock exposure: Do not let the camera keep changing brightness.
- Lock focus: Stop the camera from hunting during movement.
- Use high resolution: Record in 1080p or 4K if possible.
- Keep motion controlled: Fast hand waves can create blur.
- Record clean audio: Use a mic close to your mouth.
Motion blur can break the key. Blurry edges are harder to remove. If your video looks smeary, use more light and a faster shutter speed.
Step 5: Use Chroma Keying
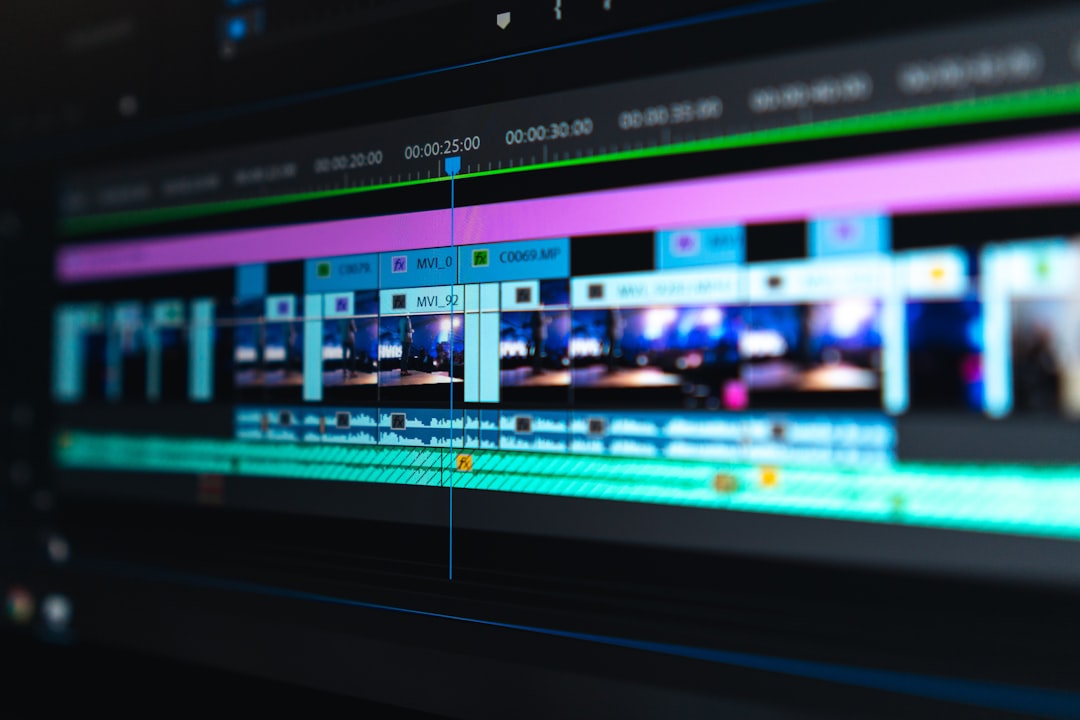
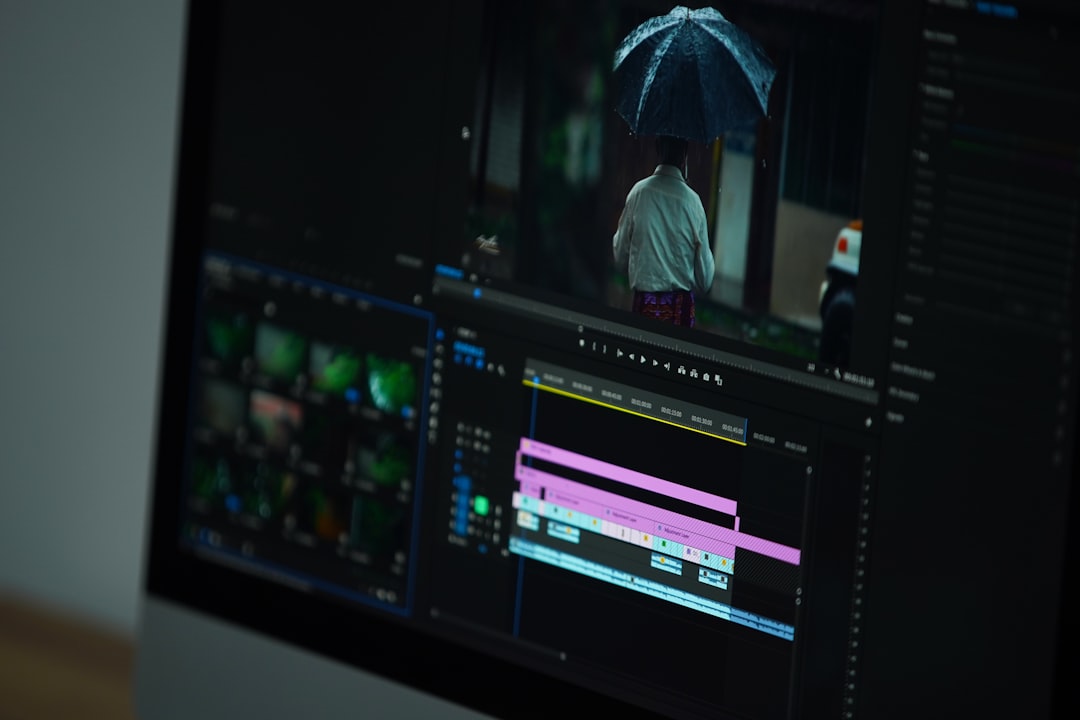
Now comes the fun part. Open your video editor. Add your green screen clip to the timeline. Add your new background on a layer below it.
Find the tool called Chroma Key, Keyer, Green Screen, or Ultra Key. The name changes by software. Yes, this is annoying. One app hides it under effects. Another hides it under color tools. It drives me crazy that the same job has five names.
Use the color picker to select the green background. The editor will remove that color. You should now see your new background behind you.
Then adjust the settings. Common controls include:
- Similarity: Expands the range of green removed.
- Tolerance: Helps remove uneven green shades.
- Edge softness: Smooths jagged outlines.
- Spill reduction: Removes green glow from skin or hair.
- Matte cleanup: Fixes holes or rough areas in the subject.
Make small changes. Do not crank sliders to 100. That can eat your hair, fingers, and clothing edges.
Step 6: Match the Background
Removing green is only half the job. The background must look like it belongs.
If your face is lit from the left, choose a background that also feels lit from the left. If your shot is cool blue, do not use a warm orange sunset unless you adjust the color.
Scale matters too. If you appear giant in front of a tiny office chair, viewers will notice. If the background is super sharp but your face is soft, they will notice that too.
Try these quick fixes:
- Blur the background slightly.
- Lower background brightness.
- Add a small shadow behind your subject.
- Match color temperature.
- Crop the shot tighter if edges look messy.
Common Green Screen Mistakes
Wrinkled screen: This creates blotchy shadows. Smooth it out.
Too little light: Grainy footage keys poorly. Add light before you blame the editor.
Standing too close: This causes spill and shadows. Step forward.
Wearing green: Your clothes may disappear. Pick blue, black, white, gray, or red instead.
Messy hair edges: Use a back light. Also try a softer key setting.
Reflective objects: Glasses, jewelry, and glossy props can catch green reflections. Change the angle.
Best Beginner Editing Apps
You can use many tools for green screen editing. Pick one that fits your comfort level.
- iMovie: Simple for Mac and iPhone users.
- CapCut: Easy for social videos and quick edits.
- DaVinci Resolve: Powerful and has a free version.
- Adobe Premiere Pro: Strong option for regular video work.
- Final Cut Pro: Fast for many Mac editors.
- OBS Studio: Good for live streaming with green screen.
Expect to waste time on menus at first. Exporting a 30-second test can take 90 seconds on an older laptop. That is normal. Do short tests before editing a full video.
Quick Green Screen Checklist
- Screen is smooth and fills the whole camera frame.
- Background is evenly lit.
- Subject stands several feet away from the screen.
- Subject does not wear green.
- Camera exposure and focus are locked.
- Test clip is checked before the full recording.
- Chroma key settings are adjusted gently.
- New background matches light, color, and scale.
A green screen is not hard. It just punishes tiny mistakes. Smooth the screen. Light it well. Keep your distance. Record a short test. Then key out the green and swap in any background you want. Do that, and your spare room can become a studio, a classroom, a spaceship, or a beach without sand in your shoes.